Are you facing error code: 0xc1420121 while updating your Windows? If yes, then this article will help you fix this error with some tips and by updating your drivers with the help of the best driver updater software.
Windows new versions are released each Tuesday of every month as part of the OS. They are not a separate product, but rather a service. Updates make the operating system better in many ways. Bugs are fixed, new usability features are added, the UI is changed, and most important, security flaws are fixed.
Some people can’t use new features and security updates because they get an error code 0xc1420121 when they try to update Windows 10 or Windows 11. There are a lot of error codes that show when updates don’t work, like 0x800705B3, 0x80070437, 0x80240016, and so on.
There could be a lot of reasons why the error code 0xc1420121 came up. Most of the time, the problem is with the Windows image or update components. Also, a simple update bug could be to blame. Let’s find out why these errors occur and how to fix them.
Solutions To Fix Error Code:0xc1420121
If your Windows computer is not able to search for any updates or unable to install new versions of Windows. The reasons for this issue could be:
- Generic Windows Update glitch
- Macrium files interference
- Failing/Corrupted drive sector
- System File corruption
To resolve these issues follow the solutions below:
Run Windows Update Troubleshooting
The first thing you should do is try the Windows Update Troubleshooting tool. To run the tool follow the instructions given below:
Step1: Open the Control Panel by searching in the toolbar’s search box
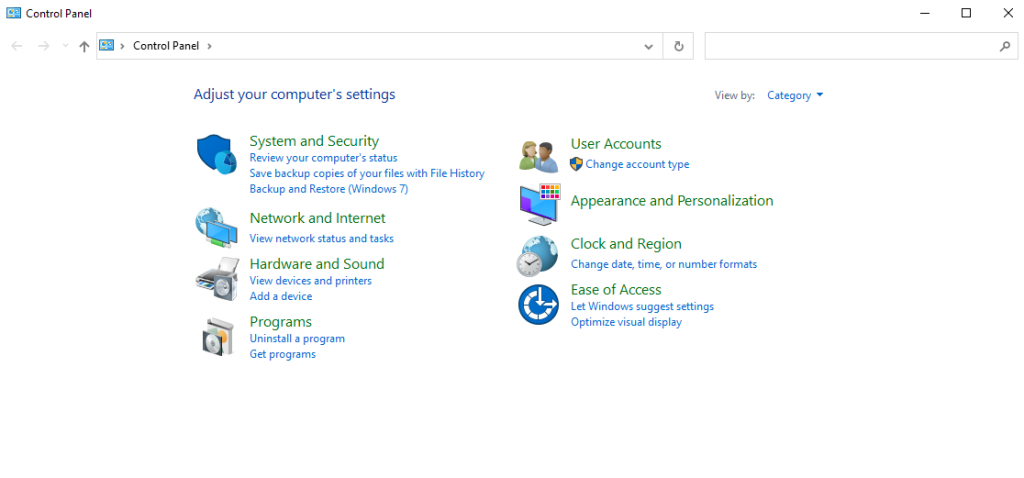
Step2: Search for Troubleshooting in the search bar in the top-right corner of the Control panel and press Enter
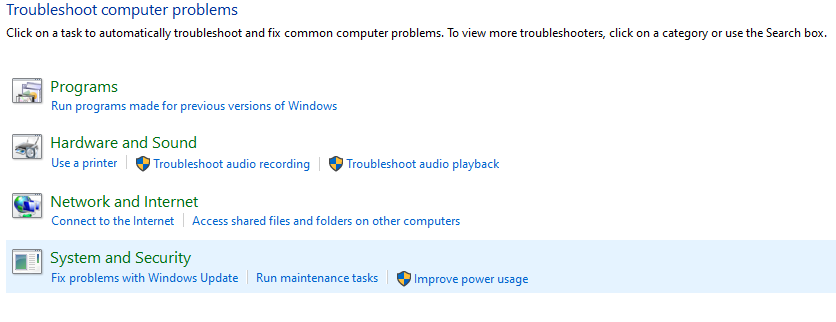
Step3: From the list click on Troubleshooting
Step4: Now, click on the “Fix problems with Windows Update” option under System and Security
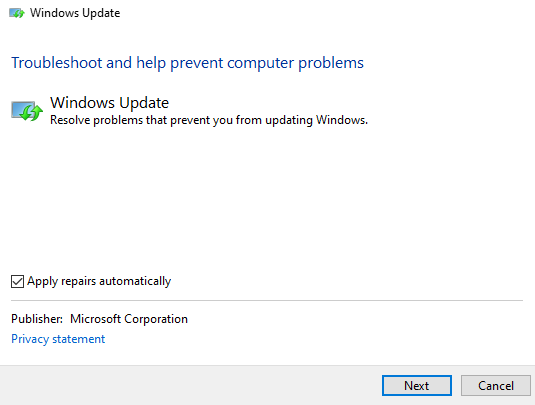
Step5: On the Windows Update page, click on the Advanced option
Step6: Check the box which says “Apply Repairs Automatically” and click on the Next button to start the troubleshooting scan, then wait for several minutes to check if there is any repair strategy recommended.
Step7: In case there is any repair strategy recommended, then click on “Apply this Fix” and wait for the process completion.
Step8: When the process is completed, Restart your computer and see if the issue is resolved.
If your issue is still not resolved even after running the Windows Update troubleshooting tool, then move on to the next solution.
Remove Macrium Reflect’s Remnant Files
If you already have Macrium Reflect installed on your Windows PC, then follow the steps below to erase the remnant files of Macrium Reflect:
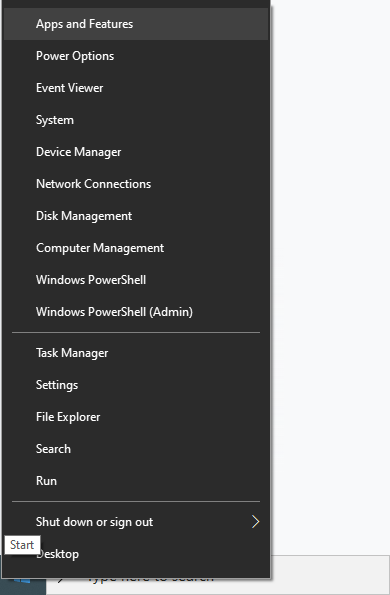
Step1: Right-click on the Start button and select Apps & Features from the list
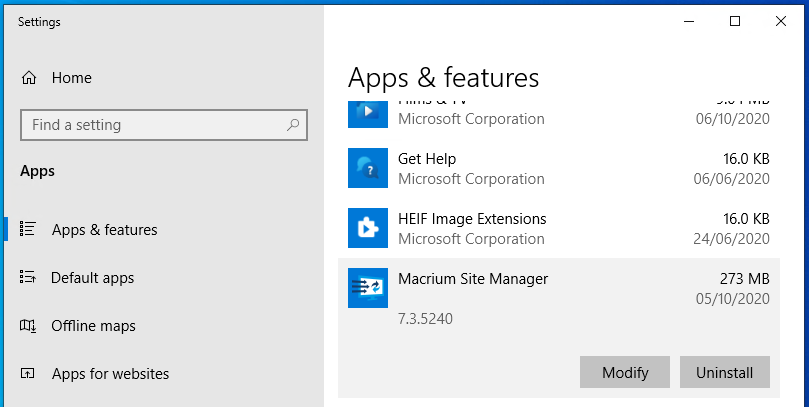
Step2: Find Macrium from the list below and click on it
Step3: Click on the Uninstall and follow the on-screen instructions to uninstall the application
Step4: Now, search Regedit in the toolbar and press Enter

Step5: When the User Account Control (UAC) dialog box appears, click on Yes
Step6: In the Registry Editor window follow these instructions to open ImagePath: under Computer > expand HKEY_LOCAL_MACHINE > expand SYSTEM > expand Current Control Set > expand Services > double-click WIMMount
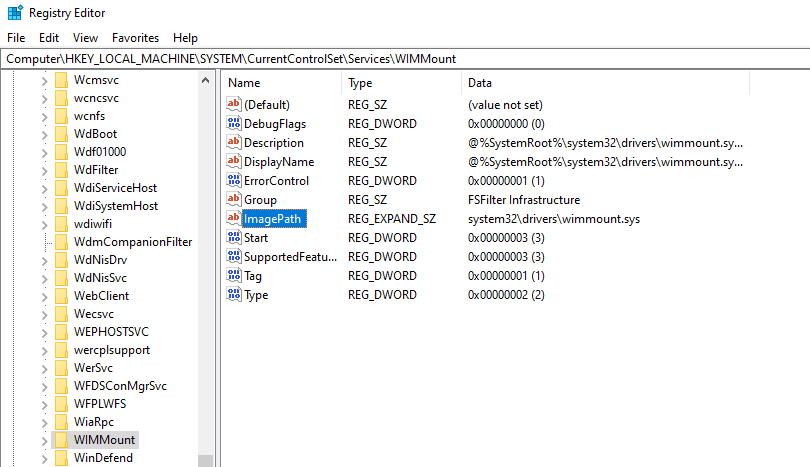
Step7: On the right side, double-click on the ImagePath entry
Step8: Erase everything under the “Value Data” and insert “system32\\drivers\\wimmount.sys”
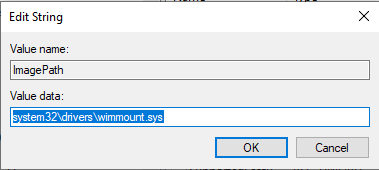
Step9: Now, close the Registry Editor window and restart your PC.
Update Your Windows Drivers
Updating drivers can also help you with fixing the error code: 0xc1420121. If you wish to update them by yourself, you can follow these steps:
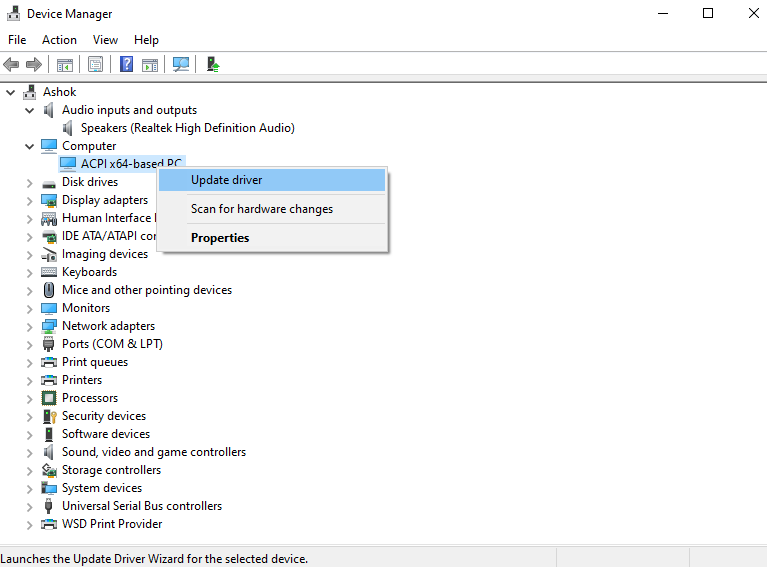
Step1: Search for Device Manager in the Toolbar and press Enter
Step2: On the left side of Device Manager expand each option in the list and right-click on each driver and select update driver
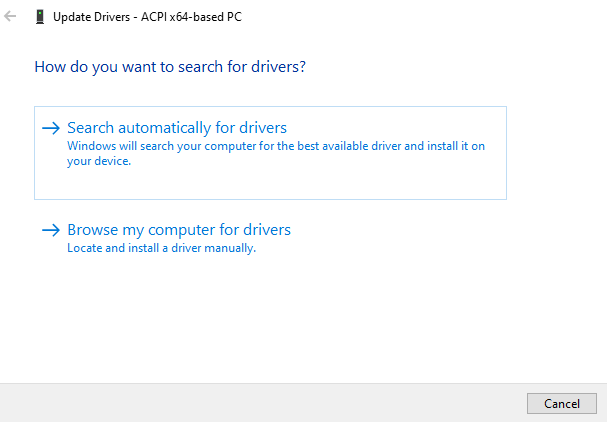
Step3: Now, in the new pop-up window, select “Search automatically for drivers” and proceed.
Updating drivers one by one manually is very time-consuming and a very hectic process. If you want to do it with a single click you can always download third-party driver updater applications to make your job super easy. Here are some of the best driver updater applications:
These apps allow you to back up as well as restore drivers, speed up the download of drivers, and do other things, too! Make sure your graphics driver is up to date by using these apps. Then, you can fix the Windows Update Error.
Use Elevated Command Prompt
There are various commands, which can be given through Command Prompt to fix the Windows update error. To do so follow these steps:
Step1: Search cmd in the toolbar and press Enter

Step2: In the cmd page run these commands, and press Enter after each command:
DISM /Online /Cleanup-Image /CheckHealth
DISM /Online /Cleanup-Image /ScanHealth
DISM /Online /Cleanup-Image /RestoreHealth
Step3: Now, run SFC by typing “sfc/scannow”
Wait for the process to finish and then restart your computer. The error should be gone by now.
Check For Windows Update Log File
When Windows launch a new version of OS a lot of log files creates on their own. These log files can be used to figure out if there is a problem with the Upgrade, so they can be looked at. It may not be easy to figure out, but it’s a gold mine for IT managers. Click Here, to see the Upgrade Log or Windows Update files.
Conclusion
We hope the solutions given above will fix the Windows Update Error 0xc1420121. If not, you need to contact Windows Support for assistance. You should always keep your drivers and OS updated because it will give you better performance. Follow the steps from top to bottom, don’t use the hit and try the method. If you want to suggest some other solutions regarding this issue, you can always write them down in the comment section below. We would love to hear from you.